


Embossing auf Acetat Folie / Embossing on acetate film
Samstag, 23. April 2016
Hallo liebe Leser,
***
Hello dear follower,
heute darf ich, Clarissa, euch eine Technik - Embossing auf Acetat Folie - zeigen. Gesehen habe ich es in vielen Videos schon auf Youtube und musste es aber nun einfach selbst testen, und es hat funktioniert!
***
today it´s my turn, to show you a new technique - embossing on acetate film. I have seen this many times on Youtube and wanted to try it by my own, and it works!

Material:
Acetat Folie / acetate film (oder Folie für Laserprinter)
Embossing Pulver / embossing powder
Stempelkissen / stamp pad (muss nicht ein Embossing Stempelkissen sein)
Embossing Föhn / embossing heat tool
Stempelmotiv / stamp
schwarzen Cardstock 4x 10,5 cm x 5,5 cm/
black cardstock 4 x 10 cm x 5,5 cm
Flieder Cardstock 4x 10 cm x 5 cm/
lilac cardstock 4x 10 cm x 5 cm
schwarzen Cardstock 4x 10,5 cm x 5,5 cm/
black cardstock 4 x 10 cm x 5,5 cm
Flieder Cardstock 4x 10 cm x 5 cm/
lilac cardstock 4x 10 cm x 5 cm

***
First of all, cut the film in A5 size to make a card in A6 size.
Nun klebt ihr die Hälfte eurer Folie ab, am Besten mit washi tape, damit das Embossing Pulver wirklich nur auf eurer Vorderseite haften bleibt.
***
Now masking the half side of your film with paper and washi tape. So the embossing powder will only be on the front of the card.

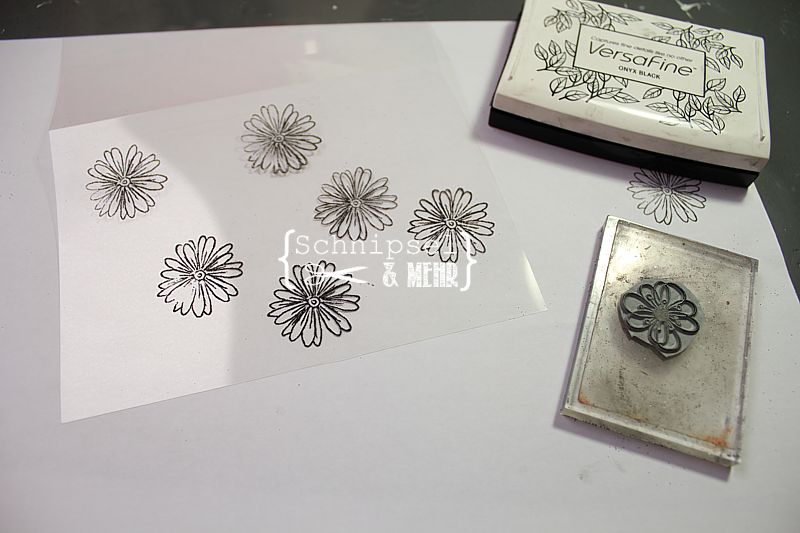
Jetzt könnt ihr die Vorderseite bestempeln und mit Embossingpulver bestreuen.
***
Stamp on the front of your card and bring on some embossing powder.


Wenn ihr mit dem Föhn darüber geht, dann nur auf niedrigster Stufe, lasst euch ein bisschen Zeit dafür.
***
If your dry the embossing powder do this with the lowest heat, let them time to dry slowly.

Nun könnt ihr euer Motiv, in meinem Fall ist es ein Text aufbringen. Dazu setzt ihr die zurechtgeschnittenen Papier zusammen und beginnt auf der Vorderseit. Klebt mittig das DP auf.
***
Now bring on your image, or sentiment on frontside in the middle of the card.

Open the card and glue the second paper, fold it again and align the backside paper.
Das letzte Stück Cardstock aufkleben und fertig ist die Karte.
***
Open the card again and glue the last piece of paper inside the card.

***
Hope you like it, have a great saturday.
Hugs Clarissa
Hier kommen noch die tollen Beispiele des Teams:
***
Here are the examples of our great teamies:


2 Kommentare:
Mensch, dass sine ja toole Karten
glg gertrude
Wow, was für eine schöne Idee.
Liebe Grüße
Tinia
Kommentar veröffentlichen