


Pralinenbox
Samstag, 5. Oktober 2013
Hallo zusammen, heute zeige ich (Nela) euch das erste Mal einen
Workshop bei Stempeleinmaleins. Habt ihr Lust meine Idee von einer Pralinenbox nachzubasteln?
***
Hi, today I (Nela) show you the first time a Workshop at Stempeleinmaleins. Would you like to tinker my box of chocolates?

Fotokarton
Alufolie
Klarlack
Papier, Drucker und etwas zum Colorieren
Designpapier
Falzbein, Schere, Kleber
So funktioniert sie: Zuerst druckt ihr die Pralinen-Freebies die ich für euch gezeichnet habe auf Papier. Das Bild mit allen Pralinen sollte eine ausgedruckte Größe von 9 cm x 7,3 cm haben.
***
You need this:
Cardstock
Aluminum foil
Clearcoat Paper, printer and something for coloring
Design Paper Bone folder, scissors, glue
How does it work? Please print out the chocolates freebies that I have drawn for you on paper. The picture with all the chocolates should have a size of 7.3 cm x 9 cm.

Ich habe auf 250g/m² Perfect Colouring Paper gedruckt, aber natürlich könnt ihr auch anderes nicht ganz so dünnes Papier verwenden.
Danach die Pralinen colorieren, ich habe hier Copics verwendet (E33, E53, E59, E79 und für die Mandeln E51 und E53) ausschneiden und danach die Pralinen von der uncolorierten Seite aus mit dem Embossingstift prägen, damit sie plastischer aussehen.
Anschließend Abstands-Pads auf die Unterseiten kleben.
***
I have printed on 250g / m² Perfect Colouring Paper, you can also use a different paper, it should not be too thin. Then paint the chocolates, I have used Copics (E33, E53, E59, E79 and E51 and E53 for the almonds) and cut out. Emboss the chocolates with an Embossing-pen. Distance pads stuck to the bottoms.

Dann nimmt ihr ein Stück Fotokarton mit dem Maß 10,5 x 7,5 cm klebt Alufolie darüber, klebt die Pralinen gleichmäßig darauf und klebt kleine Rollen aus Alufolie dazwischen.
***
Then you take a piece of cardstock with the dimension 10.5 x 7.5 cm and glued aluminum foil over it.
Then stick the chocolates.
Stick small rolls of aluminum foil in between.

***
Your topper looks like this. Dab the chocolates with Glossy Accents or other coating, then they look delicious.

Als nächstes machen wir den Deckel der Box.
***
Next, we make the cover of the box.

Schneidet Fotokarton nach der folgenden Vorlage aus und prägt dort, wo gefaltet wird.
In der Mitte wird ein Kreuz eingeschnitten.
*** Cuts cardstock out according to the following template and emboss there, where it is folded. Cutting in the middle a cross.

Klebt den Deckel zusammen und klebt den Aufleger in das eingeschnittene Kreuz ein.
***
Glued the cover together.
Glued the topper into the incised cross.


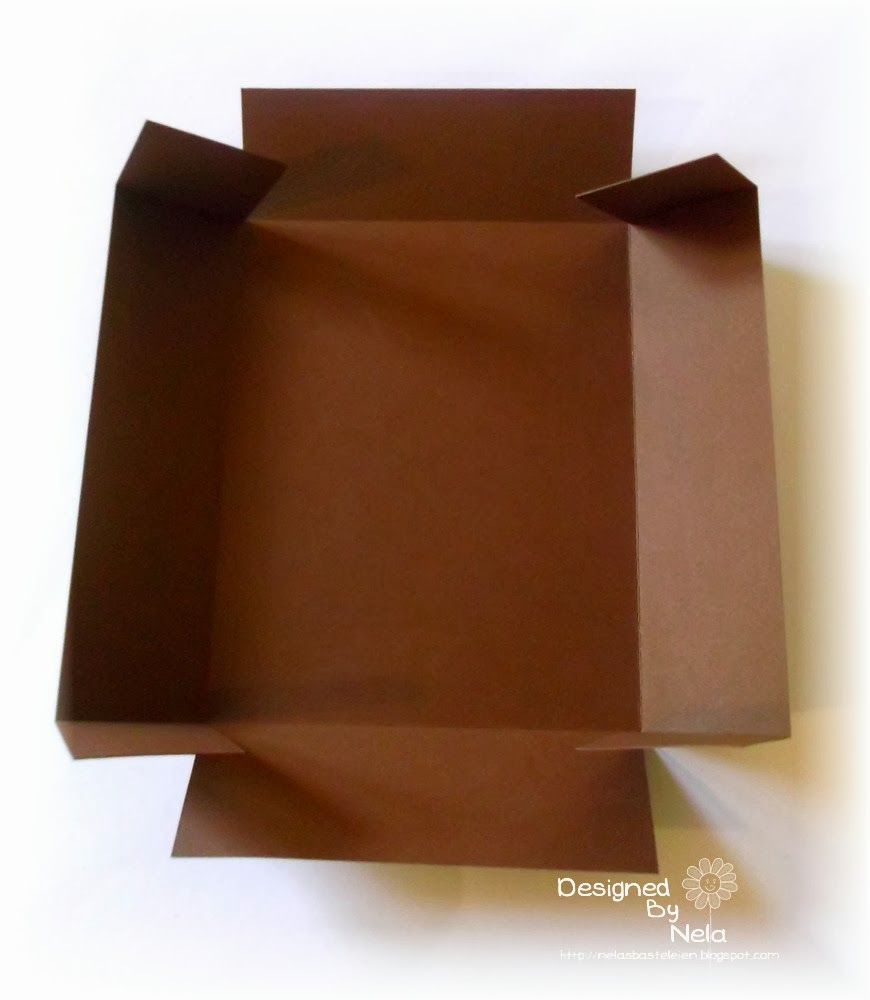
Nach der zweiten Vorlage wird nun die Box gemacht.
Zusammenkleben und fertig.
***
Cut cardstock to the second template.
Sticking together and ready.

Danach könnt ihr eure Box noch nach eigenem Geschmack
dekorieren und das war es auch schon!
***
Then you can decorate your box and that's it!


Und hier eine weitere Variante:
***
And here is another version:

***
Hope you enjoy!
Und hier sind die Pralinenschachteln vom Team:
***
And here are the chocolate boxes from the team:


.JPG)


2 Kommentare:
BOA, das ist ja der Wahnsinn, so tolle Pralinenboxen, ich bin begeistert
lg gertrude
Wow, das sieht ja wieder super aus.
LG JuttaS
Kommentar veröffentlichen